
HOW TO USE MS WORD
How to start a document
Microsoft Word is a word-processing application that can be part of the Microsoft Office suite or a stand-alone program installed on to your computer.

The program can be used to write letters and different types of documents that can include graphics and pictures. This guide explains how to open Microsoft Word and start a new document, using the Windows 7 operating system.
It will feature Word 2013 for PCs, and is slightly different to earlier versions of Word. A word processor included free with the Windows operating system is WordPad, which doesn’t have all the features of Word but does have some formatting features.
It can be found in the ‘Start’ menu under ‘Accessories’. Click on 'All programs' and then scroll to 'Accessories' folder
You’ll need:
- A computer with Microsoft Word installed.
Follow these step-by-step instructions to start a document in Microsoft Word
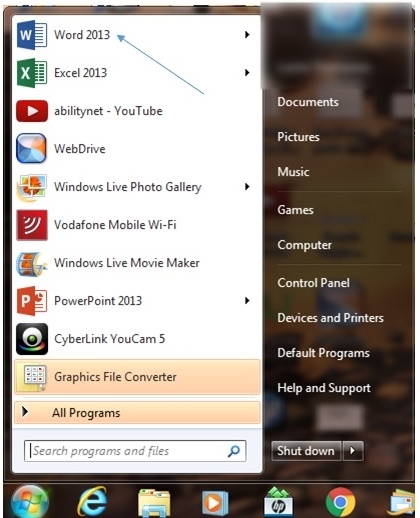
Step 1: From the desktop or from your ‘Start’ menu, open Microsoft Word.
If the Word 2013 icon does not appear you can search for it, using the 'Search programs and files' box in the picture above.
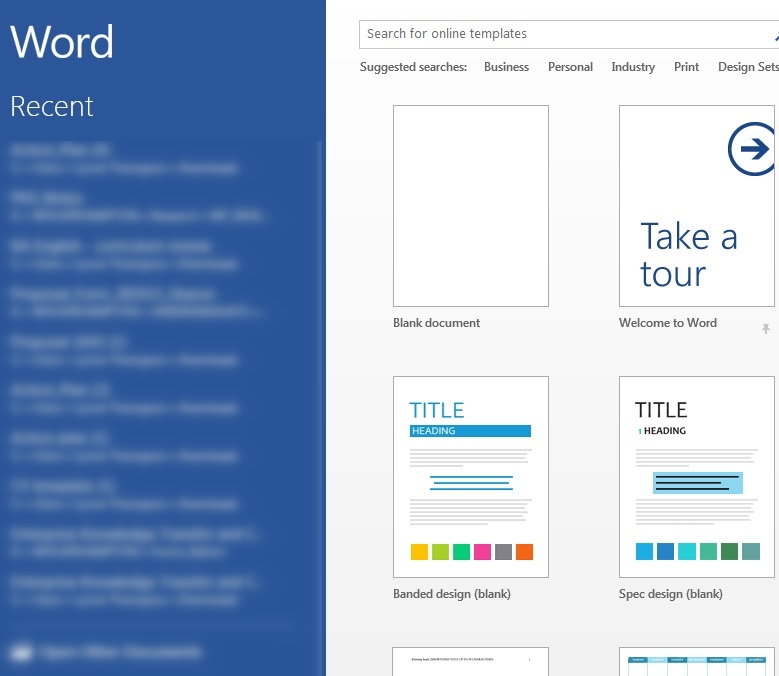
Step 2: Microsoft Word will open up and present you with an option to select a document template, or a blank document.
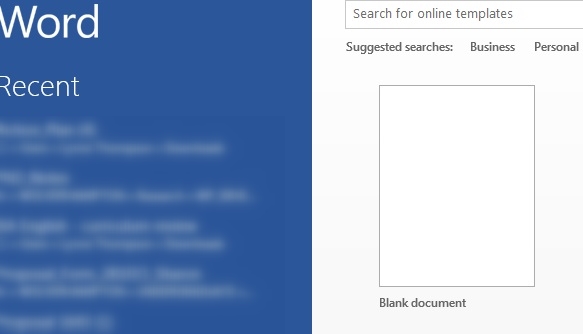
Step 3: If you don't want to use any of the templates on display, click on the blank document.
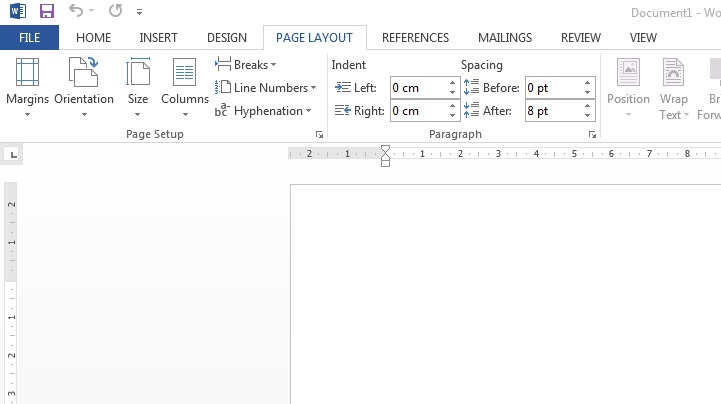
Step 4: A new blank document will open up ready for you to start typing.
Microsoft Word is a very popular word-processing program. While it can be used for typing letters and basic documents, a Word document can also include pictures and graphics for making posters or even birthday cards.
This guide explains how to move around a document in Microsoft Word. It will feature Word 2010, but earlier versions of Word will use similar steps or concepts.
You’ll need:
- A computer with Microsoft Word installed.
Follow these step-by-step instructions to move around a document
Step 1: From the desktop or from your ‘Start’ menu, open Microsoft Word.
Step 2: Click either File or the Office button at the top left. Select Open and browse to the document you wish to open. Double-click on it with your left-hand mouse button to open it.
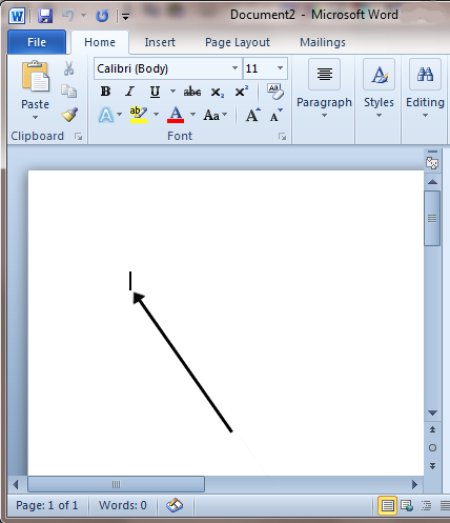
Step 3: The flashing cursor (mouse pointer) in the document tells you where you’re typing. Wherever the flashing cursor is placed, the letters that you type will be inserted at that point. When you start a blank document, the flashing cursor will be at the start of your document ready for you to start typing.
Step 4: As you type, the cursor will also move with each letter. This guides you so that you know where the focus is for typing.
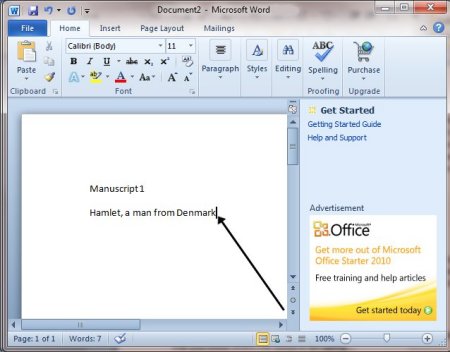
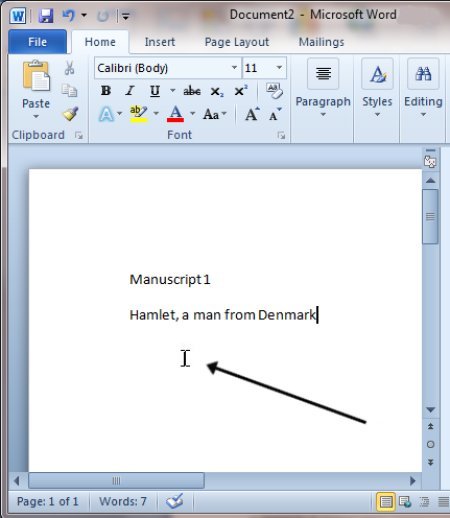
Step 5: The mouse can be used for moving around a document. When the mouse pointer is moved over a text area, the pointer will change from an arrow to a ‘text select’ or ‘I-beam’ icon.
Step 6: Move the text select/mouse pointer with your mouse to where you would like to change or add text. Click the left-hand mouse button. This will then place the flashing cursor at the point where you have clicked so that you can edit or insert text.
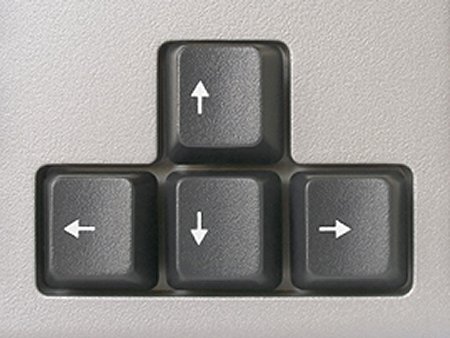
Step 7: You can also move around your document using the arrow keys on the keyboard.
Step 8: Pressing these arrow keys will move the flashing cursor up a line of text, down a line or left one character or right one character. Using a combination of keystrokes can also move the cursor further – e.g. holding down the Ctrl (control) key and pressing the left arrow key will move the cursor left one word. Holding down Ctrl and pressing the up arrow key will move the cursor to the start of each paragraph.
No comments:
Post a Comment